OK, you think this blog is going to stink? You may be partially correct, but this blog will focus on the fabric most motorhome manufacturers use for their ‘leather’ furniture. PU is Polyurethane Leather and years ago we were fooled into purchasing an overstuffed couch and loveseat made with ‘bonded leather’ on all seating surfaces, but it never really felt (or smelled) like real leather. A few years back we purchased another couch and loveseat, this time the seating surface were “real leather” (which I still doubt today) and the hassock we purchased with the set was certainly faux leather. Fast forward 10 years and the couch and loveseat still look in good shape but the hassock is a disaster with most of the faux leather completely flaked off.
Fake leather is marketed under many names, so buyer beware when buying home or rv furniture. Here are just some of the misleading names used to market plastic leather (fake leather):
- PU Leather
- Bicast Leather
- Split Leather
- Bonded Leather
- Reconstituted Leather
- Corrected Grain Leather
There are pros and cons to PU, or Polyurethane Leather. It is a cheap alternative to natural leather, it is easy to clean since it doesn’t absorb water and it won’t dry out like natural leather. These benefits, however, are outweighed by PU leather’s lack of durability; it can crack over time, is easily ripped / torn / punctured, and is not breathable like natural leather. Coach manufacturers pick this fabric for all the reasons listed and is durable enough to last until the warrantee period of the coach is concluded. So things are great for the first few years of coach ownership, then owners are stuck looking at shabby furniture.
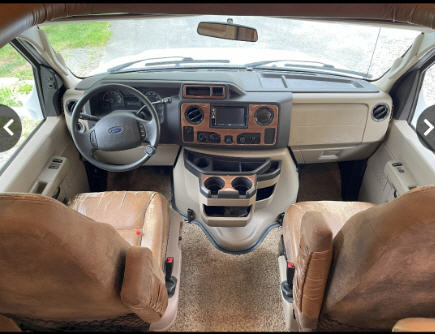
Late in 2023 we purchased our Jayco Greyhawk, which considering the age (it’s a 2013) the coach is in great shape except for the driver and passenger seats. Obviously Jayco uses fake leather in all their furniture. The previous owners had attempted to patch up some of the area on the dinette area where the faux leather has flaked off. And the original couch was replaced by a very nice looking loveseat recliner (which I believe is fake leather). The coach furniture generally is ok with only minor flaking here and there but the driver and passenger seats are in pretty bad shape.
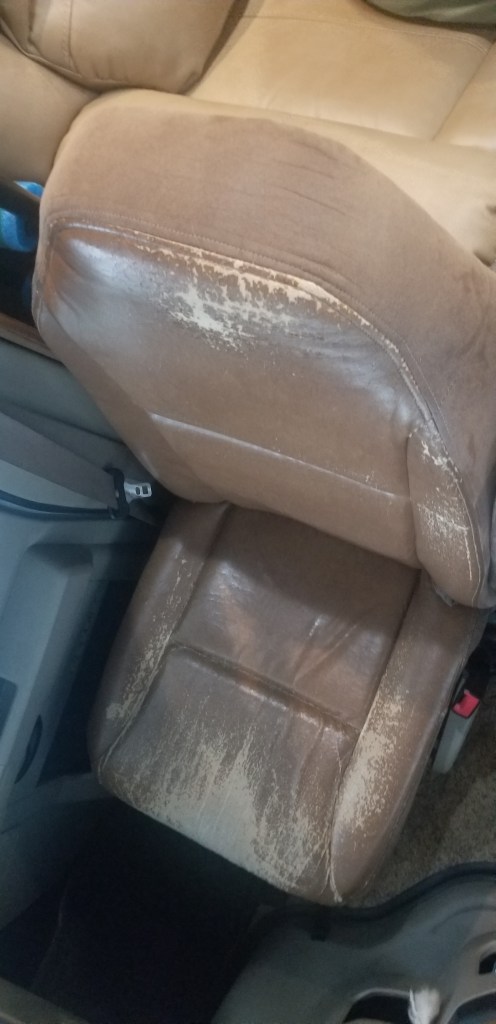
Passenger Seat of 2013 Jayco Greyhawk
I investigated custom manufactures to make seat covers for our coach. The companies catering to the RV market were eager to sell me seat covers which ranged from mid-$200 per seat to over $500. I also investigated reupholstering, but that turned out to be very expensive in the range of $2000+ for the two seats. New captain chairs were an option but again a very expensive option and involved me trying to figure out how to install them. I came close to purchasing large sheets of self adhesive PU leather to tack on over the existing seats. I watched a few YouTube videos showing how “easy” it was to make old leather furniture look new but after reading mixed reviews I quickly rejected this idea. I kept tabs on the Jayco Owners Forum for advice but most folks just live with the worn out look.
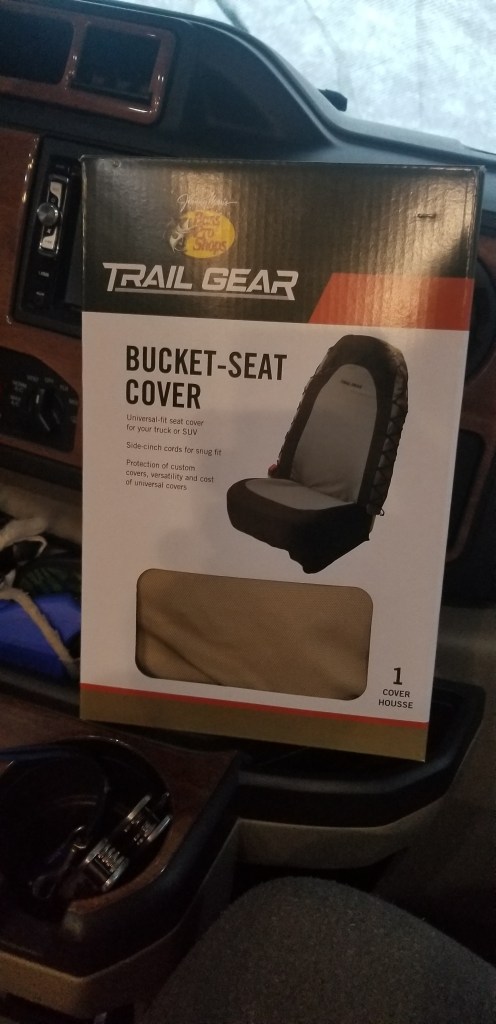
One day I stumbled on to the Forest River Forums and read a person highly recommending a Cabala’s truck seat cover. That person posted a photo and then I began my quest seeing if these would fit. The seat covers have a limited color choice. Our coach is very dark and we were hoping to add some color to the area but in the end we decided to purchase the light brown covers.
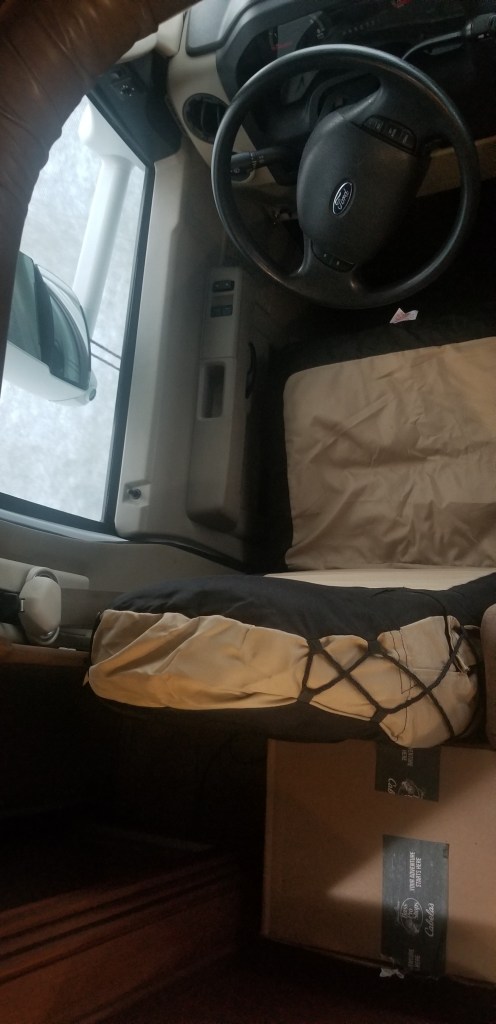
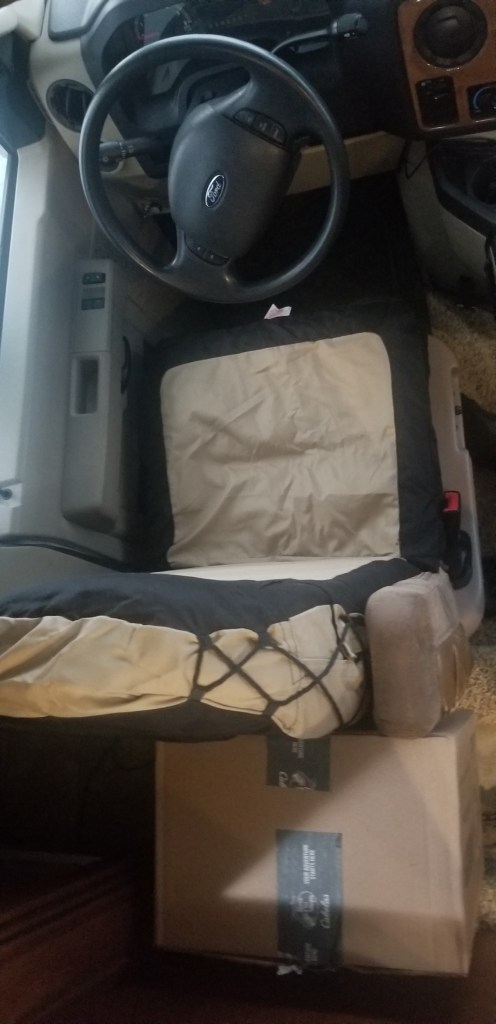
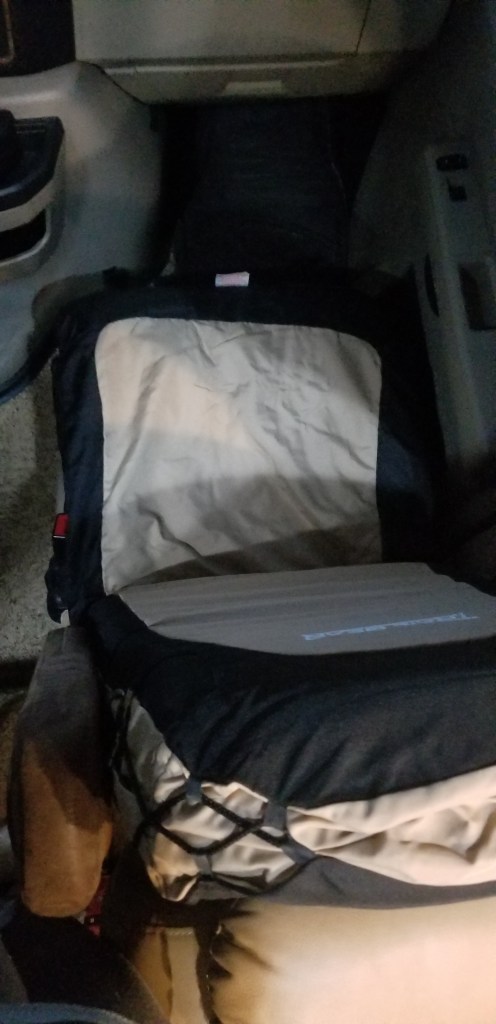
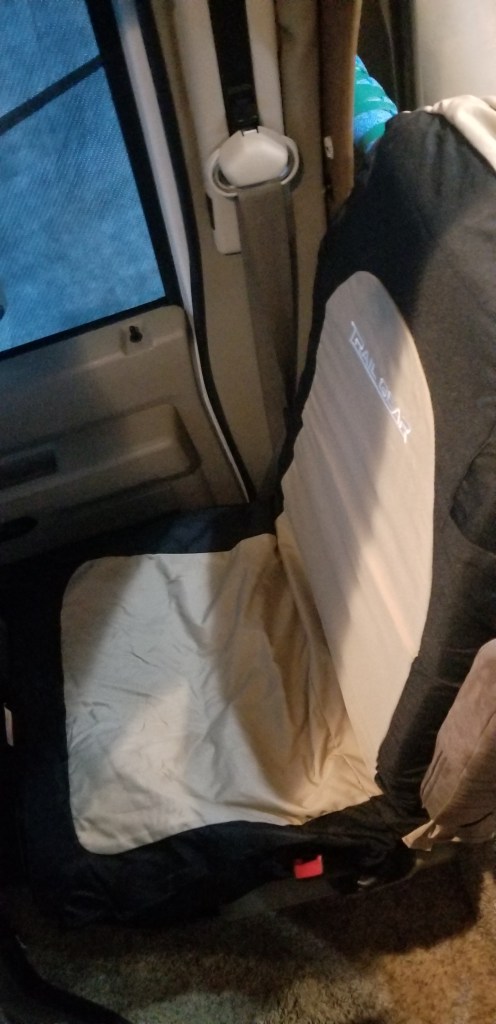
At $20 per seat, these covers were a bargain. The installation was surprisingly easy with minor hitch; our coach seats have no open space between the seat back and the seat. The installation of the seat cover straps require to sneak the strap though this opening (which our seats don’t have) so the seat cover can be tightened up. In the end, this wasn’t a huge issue since tucking these little straps into the crease between the back and seat area seems to be sufficient to keep the cover in place. Additionally the seat covers have velco openings to allow the arm rest through the cover so no cutting was required.
Once the seat covers were snuggly in place, I then laced up the sides tightly and tightened up the multiple seat straps and things shaped up nicely. A total cost of $45 including shipping, these covers are a very cost effective way to make the coach look more livable. Below are some pictures of the installation process.


Leave a comment